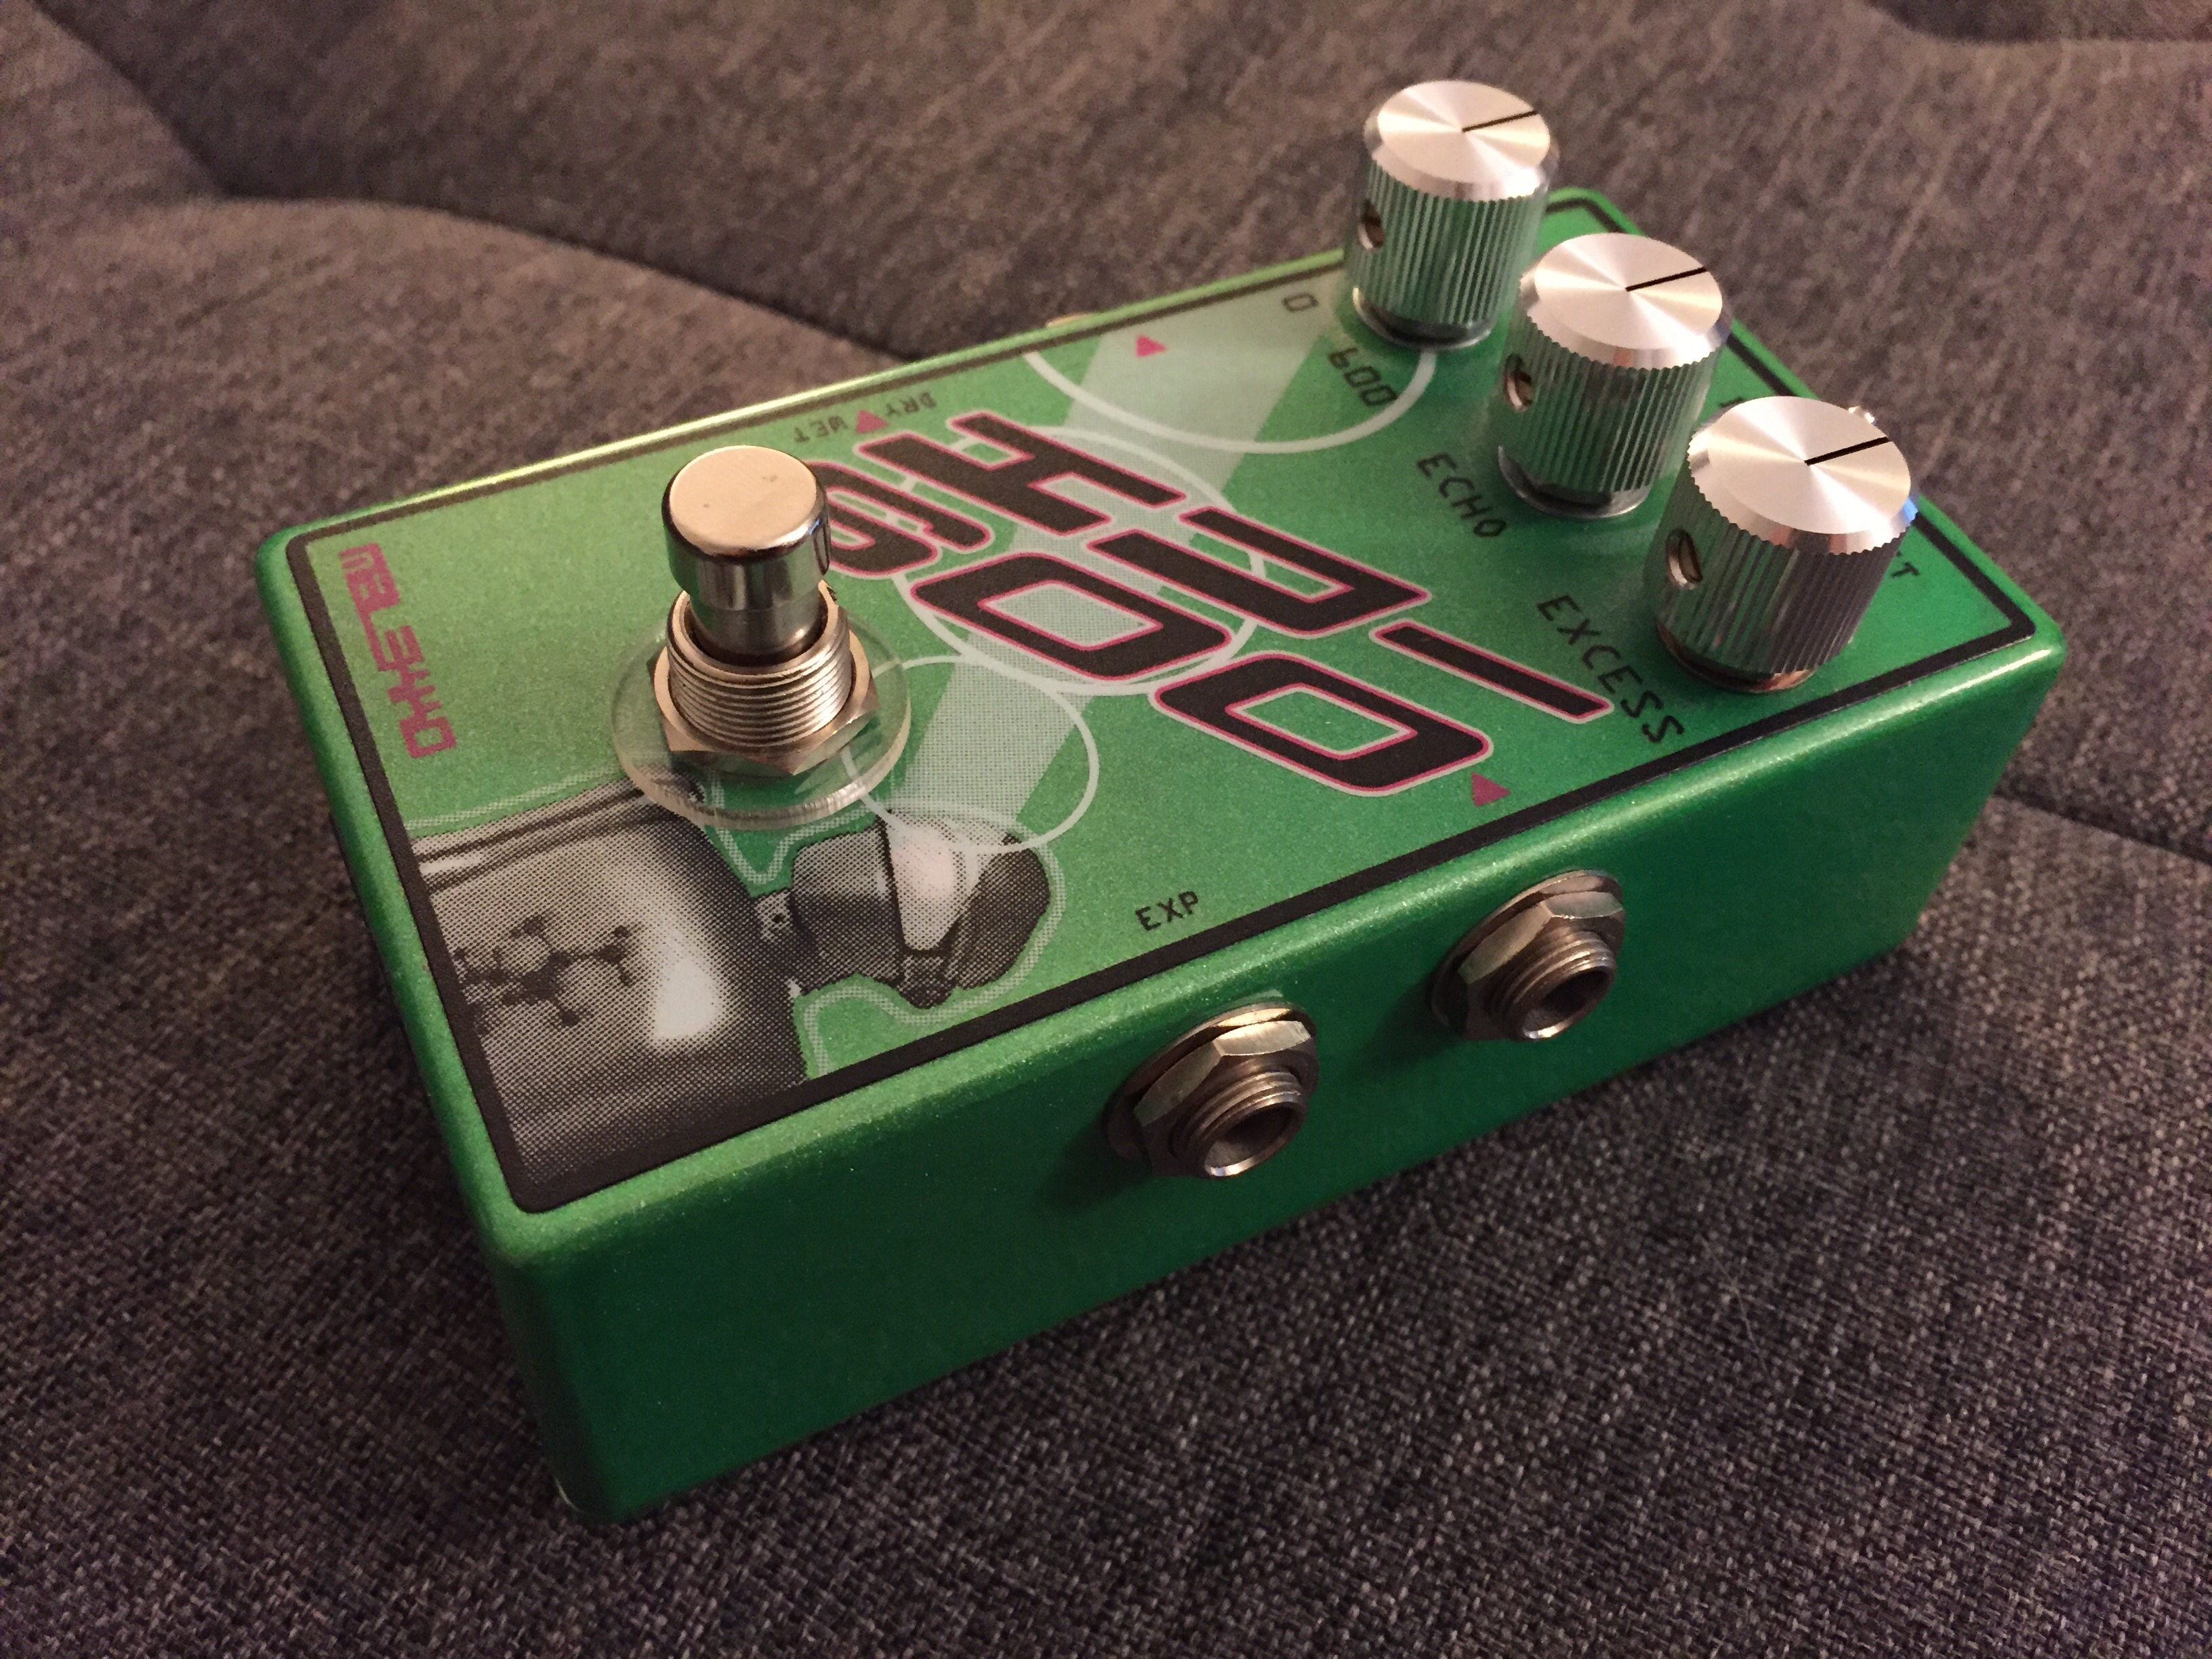
Snagged this bad boy on Reverb this week. The Malekko Echo 600Â Dark is the warmer version of the regular Echo 600 (bright??). Â A little while ago – maybe 6 years ago – I had come across this pedal on YouTube, but I don’t think I had developed my own uses for delay with respect to analog vs. digital. So while I stuck around ’cause the pedal looked cool and the playing was good, I didn’t really add it to my list of pedals to consider buying (it was also really expensive).
But lately, my setups have consisted of two delays – a very clean digital delay for rhythmic repeats, followed buy a warmer analog delay. The digital delay is set to very few repeats (about 3) with the level just a little shy of unity. The analog delay is set to have fairly long repeats with the level considerably lower than unity so that it sits right under my playing.
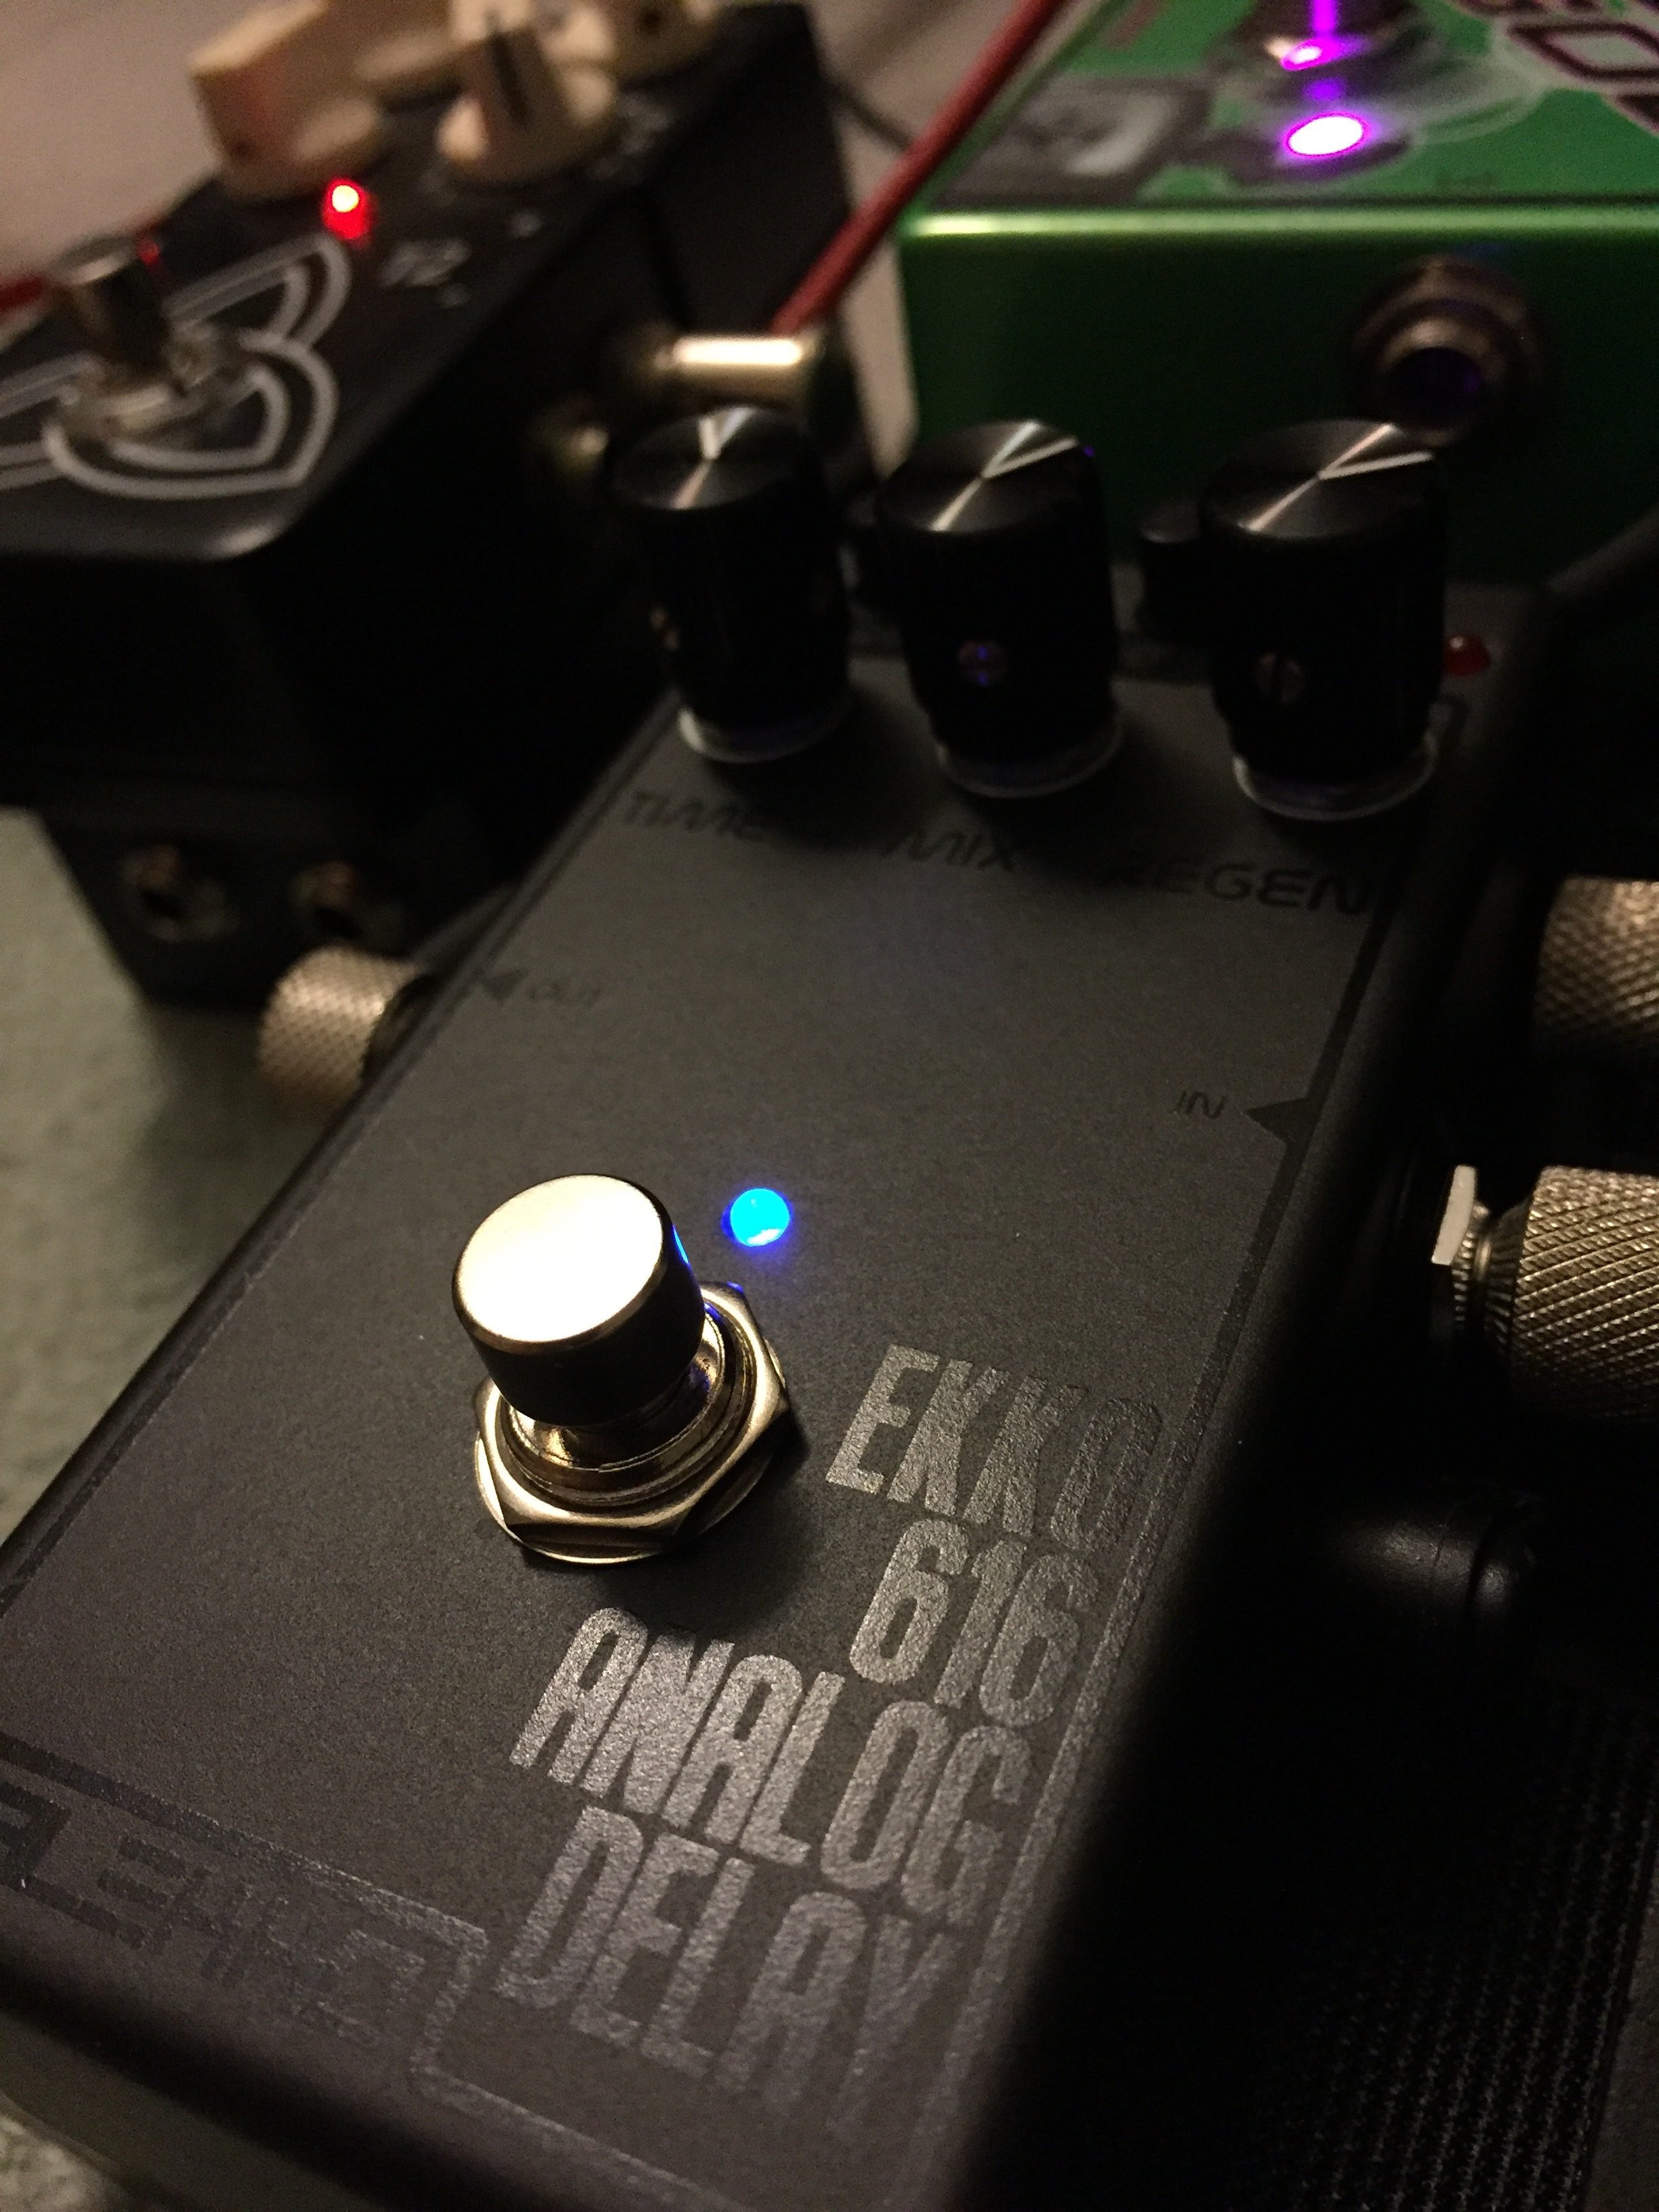
This here, is the Ekko 616 Dark. According to the description on their site, this model is the successor to the Echo 600 Dark, and came out after the Echo 600 Dark had been discontinued for some time. From what I can tell, you get pretty much the same tones with added modulation controls.
One interesting thing I’ve noticed with these two pedals is that if you switch it off and then back on again, the repeats that were playing from the last time you had it on will still go on. I guess it’s not an issue if you don’t have the repeats last too long, but I do.
Here’s a comparison I did:
Side note. If you own any of Malekko’s recent pedals, and you’ve peeked underneath the hood, you’ll know that the quality is pretty high. There are no wires inside; everything is mounted on the pcb. Then I opened up the older pedal, and you can definitely tell this was handmade – wires everywhere, “ok” solder joints, sloppy space planning. I mean, it all worked, but some components were definitely experiencing more binding than necessary. So of course I had to free it up a little. The biggest pain-in-the-ass was desoldering the 3PDT switch. Unfortunately, THIS was board-mounted. This was causing most of the squish. So I extended the 9 leads with short wires and reconnected everything. This provided some relief for the board components and also allowed me to have the switch protrude a little more through the top. Also something kinda strange, two of the knob shafts were extra long. So I went at it with my dremel and shaved about 3mm off of the long ones. Then finished them off with new knobs. Boring stuff, I know, but I just wanted to mention this.

